How to Program a Garage Door Opener in Washington, WA — Complete Guide by Brand
Programming a garage door opener requires pressing the Learn or Program button on the motor unit, then pressing your remote within 30 seconds before the indicator light stops blinking. The exact button location, color, and sequence differ significantly between LiftMaster, Chamberlain, Genie, Craftsman, and Raynor openers — and programming a vehicle’s built-in HomeLink system involves a separate two-step process that most guides skip entirely. If you’re stuck in Washington and need hands-on help, call Matrix Garage Door Repair Washington at (844) 749-2402 — we program openers same-day across the city.
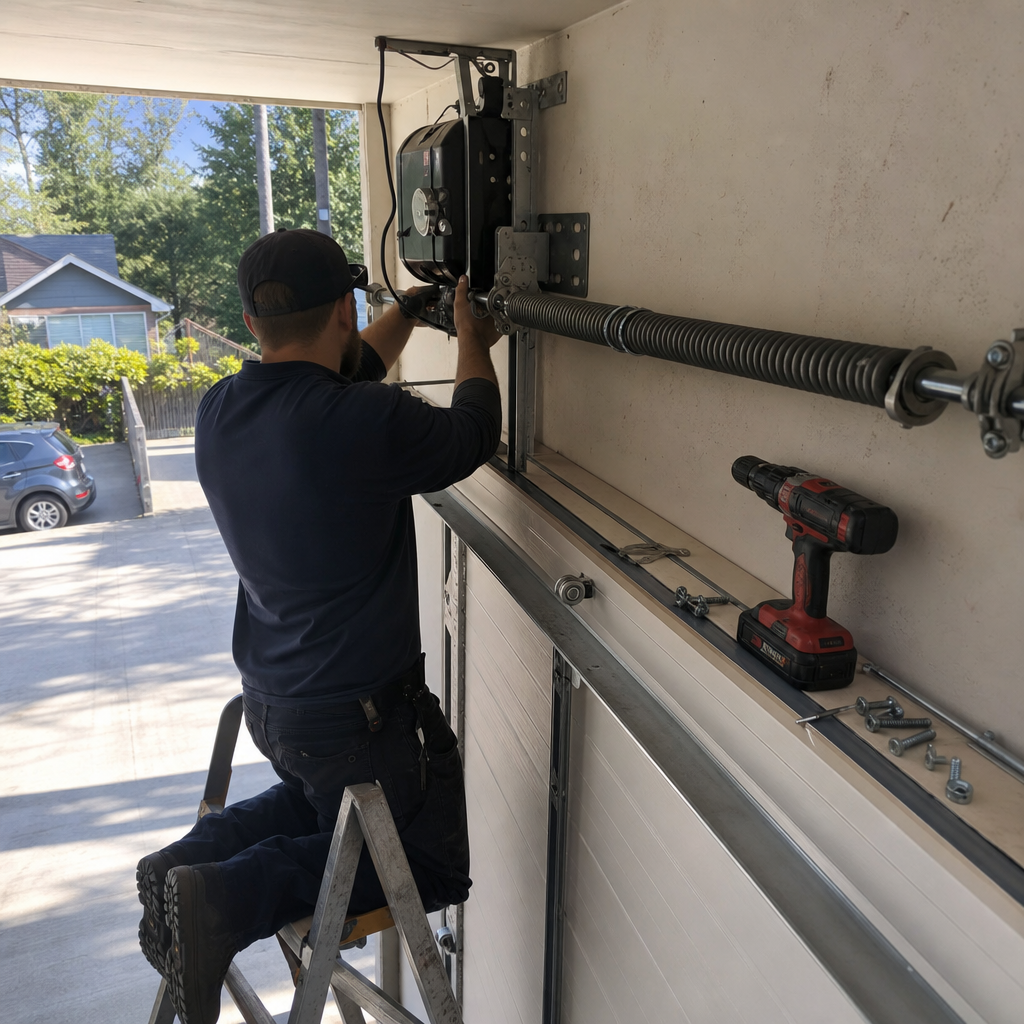
We’ve spent eight years running service calls through Washington’s mix of mid-century ramblers, new construction with detached garages, and the occasional Capitol Hill carriage house where the opener’s mounted twenty feet from the door. The programming steps don’t change with geography, but the practical constraints do — tight garage layouts, older wiring, and the fact that a 30-second pairing window expires fast when you’re walking back from a distant motor unit. Here’s what actually works, brand by brand, including the HomeLink scenario that trips up most homeowners who’ve already got their handheld remote working fine.
Why Most Programming Guides Leave You Halfway Done
Search “how to program garage door opener” and you’ll find two types of results: brand-specific manuals that assume you already know which opener you own, and generic step-by-steps that treat every opener like a LiftMaster with a yellow Learn button. Neither addresses the three distinct programming scenarios that exist in most Washington homes, and neither explains why your remote works but your car doesn’t.
The three scenarios are:
- Handheld remote to opener: The standard pairing most people need
- Wireless keypad to opener: Different button sequence, different failure mode
- HomeLink (in-vehicle) to opener: Requires clearing the channel first, then a two-step rolling-code sync that has nothing to do with your handheld remote
Conflating these is why you’ll find forum threads with dozens of “tried everything” posts from people who actually did the remote pairing correctly but never touched the HomeLink-specific steps. We’ve sorted this exact confusion on service calls from Admiral to North Beacon Hill — usually takes ten minutes once we know which scenario we’re actually solving.
Programming by Brand: Button Locations, Colors, and Real Sequences
Below is what we use in the field. These are the actual button labels and light behaviors, not sanitized manual excerpts.
LiftMaster & Chamberlain (Post-1993, Rolling-Code Models)
Look for a yellow, purple, red, or green Learn button on the back or side of the motor unit, near the hanging antenna wire. The button is square and colored — not labeled “Learn” in text on all models, but the color is unmistakable once you know to look for it.
Remote pairing: Press and release the colored Learn button. The nearby LED turns on solid for 30 seconds. Press and hold your remote button until the opener lights flash or you hear two clicks. That’s it — the remote is paired. If the LED goes dark before you press the remote, the window expired and you start over.
Keypad pairing: Press Learn, then within 30 seconds enter your chosen 4-digit code on the keypad and press Enter. The opener will click or flash to confirm.
HomeLink pairing (the step everyone misses): First, clear the HomeLink channel in your vehicle by holding the two outer HomeLink buttons until the indicator flashes rapidly (10-20 seconds). Then press your car’s HomeLink button and the Learn button on the opener simultaneously — or follow your vehicle’s specific two-step sequence, which typically requires pressing Learn, then returning to the car to press the programmed HomeLink button twice. The “clear first” step is non-negotiable; skipping it is the single most common reason HomeLink fails after a successful remote pairing.
Genie (Intellicode Models)
Genie uses a Program button labeled in text, usually behind a small rectangular cover on the motor head, not a colored square button. The indicator light sequence is different too — typically a red LED that blinks rather than going solid.
Remote pairing: Press and hold the Program button until the red LED blinks. Release, then press your remote button twice. The opener should click and the LED should stop blinking.
Keypad pairing: Press Program, enter your 4-digit code on the keypad, then press Program again. The LED pattern confirms.
HomeLink note: Genie Intellicode uses a rolling-code system that’s compatible with post-2005 HomeLink, but the two-step vehicle process still applies. Some older Genie models require a separate Intellicode converter for HomeLink compatibility — if you’ve cleared the channel and followed the two-step sync and still get nothing, the opener may simply be too old for direct HomeLink pairing without an adapter.
Craftsman (Pre-2011 vs. Post-2011)
This is where the generic guides really fall apart. Pre-2011 Craftsman openers use a physical code-switch system inside the remote and the motor unit — small switches that must match position-for-position. No Learn button, no 30-second window. If your Craftsman opener has a row of tiny switches, programming means opening the remote and the motor cover and aligning them identically.
Post-2011 Craftsman switched to the standard Chamberlain/LiftMaster rolling-code platform (Sears contracted Chamberlain for manufacturing). These have the colored Learn button and follow the same sequence as LiftMaster above.
We’ve found pre-2011 Craftsman units still running in plenty of Washington’s older neighborhoods — Magnolia, parts of West Seattle, the pre-war stock near Green Lake. Homeowners buy a new remote, find no Learn button, and assume they’re doing something wrong. They’re not — they just need a remote with matching code switches, which are increasingly special-order.
Raynor
Raynor uses rolling-code technology similar to LiftMaster but with button placement and labeling differences that matter. The Learn button is typically on the side of the motor unit, not the back, and may be labeled “Smart/Learn” rather than just “Learn.” The indicator light behavior is also slightly different — a double-flash confirmation rather than single flash or click.
The pairing sequence is fundamentally the same: press Learn, LED goes solid, press remote within 30 seconds. But we’ve had customers search for a back-panel Learn button that doesn’t exist on their Raynor, spend twenty minutes, then call us. If your opener says Raynor, check the side panel first.
Washington-Specific Practical Tips From the Field
Joseph Taylor picked up the mechanical side of this trade through Bates Technical College in Tacoma after realizing general construction wasn’t specialized enough to build something lasting. Eight years of Washington service calls later, here are the field adjustments that actually matter for programming:
Deep garages and detached structures: In Washington’s newer developments and the larger lot configurations near Discovery Park or along the water, the opener motor sometimes mounts at the far end of a 24-foot or deeper garage. The 30-second Learn window on LiftMaster/Chamberlain units expires while you’re still walking back to your car or remote. Our workaround: use the hardwired wall button to re-trigger the Learn mode rather than walking back to the motor unit. Most wall buttons have a secondary function — press the button twice quickly or hold for a specific interval (varies by model) to re-engage Learn without returning to the motor.
Cold-weather behavior: Washington’s winter temperature swings don’t directly affect programming logic, but they do affect remote battery performance. A weak battery in a cold garage can produce a signal that’s strong enough for daily use but too marginal for the initial pairing, which requires a clean, strong transmission. If your remote works intermittently or only from close range, swap the battery before assuming a programming failure.
Older wiring and electrical noise: In Washington’s pre-1960s housing stock — Capitol Hill, parts of the Central District, older Ballard — garage circuits sometimes share neutral paths with other loads. This can introduce electrical noise that interferes with the radio-frequency pairing process. If you’ve tried the correct sequence multiple times and the opener never confirms, try unplugging the opener for 30 seconds to reset the logic board, then attempt pairing immediately on restore.
When Programming Failure Means Hardware Failure
Sometimes it’s not user error. Here are the three hardware failures we diagnose on programming-related service calls:
- Logic board won’t accept new codes: The receiver portion of the opener’s logic board has failed. Symptom: LED responds to Learn button press, but no remote or keypad ever pairs. Requires logic board replacement or full opener replacement if the board is obsolete.
- Remote transmitter crystal failure: The remote powers on (LED lights when pressed) but transmits no usable signal. Symptom: remote appears functional, multiple openers won’t pair to it, but other remotes pair fine to those same openers. Requires remote replacement.
- Opener at rolling-code generation limit: Rolling-code systems maintain a finite window of valid future codes. If a remote’s button was pressed hundreds of times while out of range — common with remotes in drawers with pressure on the button — the opener and remote can desynchronize beyond recovery. Symptom: remote worked yesterday, doesn’t work today, and re-pairing fails. Requires factory reset of the opener’s code memory (specific to brand) or logic board service.
These aren’t YouTube problems — they’re technician diagnoses. If you’ve run through the correct brand-specific sequence three times and have ruled out battery and range issues, the next step is a service call, not more attempts.
What Professional Opener Programming or Repair Costs in Washington
If you’re stuck, here’s what we charge for opener-related work. These are the same ranges we quote on every Garage Door Opener service call in Washington:
| Service | Price Range |
|---|---|
| Opener Repair (logic board, gear assembly, limit switch, etc.) | $140 – $380 |
| Opener Installation (new unit, includes basic programming) | $295 – $650 |
| Remote/Keypad Programming (standalone service call) | $140 – $285 |
| Spring Repair (if programming revealed a door that won’t balance) | $210 – $400 |
We don’t charge separately for “programming” when it’s part of a repair or installation — it’s included. A standalone programming visit for a working opener that you just can’t sync runs toward the lower end of that remote/keypad range.
FAQs
HomeLink and your handheld remote use separate pairing processes — a working remote proves the opener functions, but HomeLink requires its own two-step sync that starts with clearing the vehicle’s channel completely.
Most homeowners skip the “clear” step because their vehicle manual presents it as optional. It’s not optional for rolling-code openers, which covers every LiftMaster, Chamberlain, Genie, and Raynor made after 1993. Hold those two outer HomeLink buttons until rapid flashing, then follow your vehicle’s specific Learn-button sequence. If you’ve tried this correctly and still get nothing, your opener may be on a frequency or protocol that predates your vehicle’s HomeLink version — call us at (844) 749-2402 and we’ll sort it in one visit.
Professional opener programming in Washington typically costs $140–$285 as a standalone service, or it’s included at no extra charge within any opener repair or installation.
At Matrix Garage Door Repair Washington, if we’re already on-site for a repair or installing a new unit, we program every remote, keypad, and HomeLink system before we leave — no separate line item. A programming-only visit for a functional opener that you just can’t sync runs toward the lower end of that range. Call (844) 749-2402 for an exact quote; estimates are free.
Only pre-2011 Craftsman openers with physical code switches can be programmed without a Learn or Program button — all modern rolling-code openers require that button press to initiate pairing.
If your opener truly has no Learn, Program, or Set button visible, check for a removable cover on the motor head (Genie hides theirs) or confirm whether you’re looking at a commercial-grade operator with a different interface. We’ve also found openers where the button broke off internally — the hole is there, but pressing it does nothing. That’s a service call, not a workaround situation. If the door’s giving you trouble, there’s a reason — let’s find it and fix it right the first time.
If the Learn or Program button press produces no LED response — no light, no blink, no sound — the logic board’s receiver section has likely failed.
Other signs: LED works but only briefly, or the opener responds to existing remotes but never accepts new ones. Logic board replacement runs $140–$380 in our Washington service area, and for openers over 12–15 years old we typically recommend full replacement since obsolete boards become unavailable. Nearly 600 customers have rated us 4.8 stars because we diagnose this correctly the first time rather than selling you parts that won’t solve the root issue. Call (844) 749-2402 for same-day assessment.
Need It Programmed Today? Call Matrix Garage Door Repair Washington
We’ve programmed openers in every Washington neighborhood from Alki to Laurelhurst, on brands from current-model LiftMasters to 1990s Craftsman units that barely exist online anymore. Joseph Taylor personally leads every job — you get the owner, not a subcontractor reading from a phone script — and we carry compatible remotes and keypads for all eight major brands we service.
If you’d rather have it looked at, Matrix Garage Door Repair Washington offers a no-pressure assessment in Washington — call (844) 749-2402.
Written by Joseph Taylor, Owner & Lead Technician at Matrix Garage Door Repair Washington, serving Washington, WA.